Excavation Phase
Once everything is planned and marked, it’s Dig Day! Excavation is exciting but also chaotic – heavy machinery will remove soil to create the pool hole. In North Texas, soil conditions can vary (some areas have hard rock, others expansive clay), so excavation techniques may differ. Expect a big mess at this stage, but a good contractor will manage it professionally.
Smart Starts
Supervise Shape & Depth: As the hole is being dug, have the plan handy and watch that the excavators follow the design shape. Measure depths if possible (e.g., the dig crew might use stakes or laser levels) – ensure the deep end, shallow end, and any sunken features (like benches or beach entries) are roughly correct. A common mistake is over-digging or under-digging a section. It’s easier to adjust depth now (by digging a bit more or adding soil) than to fix it after steel is in.
Soil Conditions: North Texas “black gumbo” clay soil can be highly expansive. If large dry cracks or very damp areas are encountered, the builder should address them (e.g., moisture-conditioning the soil, adding a gravel stabilizing base, or even pier supports in extreme cases). If the soil is rocky (common in some DFW suburbs), confirm the crew has proper equipment to break rock without altering the pool design. Watch for groundwater: if the dig hits water, additional drainage (like installing a sump or hydrostatic relief valves) may be needed .
Spoils (Dirt Removal): Discuss with the contractor where the excavated dirt will go. Often, they haul off most of it unless you have low spots in your yard to fill. If they plan to leave any soil on your property (for landscaping or grading), designate a spot away from the pool hole to stockpile it. Piles should not block drainage entirely (in case of rain, you don’t want a mudslide back into your excavation). A messy yard is normal, but it shouldn’t create new problems.
Pre-Gunite Plumbing: In some builds, plumbers may place main drain sumps and plumbing lines in the excavation as soon as digging is done (others do it after steel). If your main drains are being set now, ensure they install dual drain systems – two main drains at least 3 feet apart, connected to a common line, to prevent entrapment . Each drain should have an anti-vortex cover (meeting ANSI/ASME standards). Verify that the main drain tops are level and at the proper depth (they’ll eventually sit flush with the plaster).
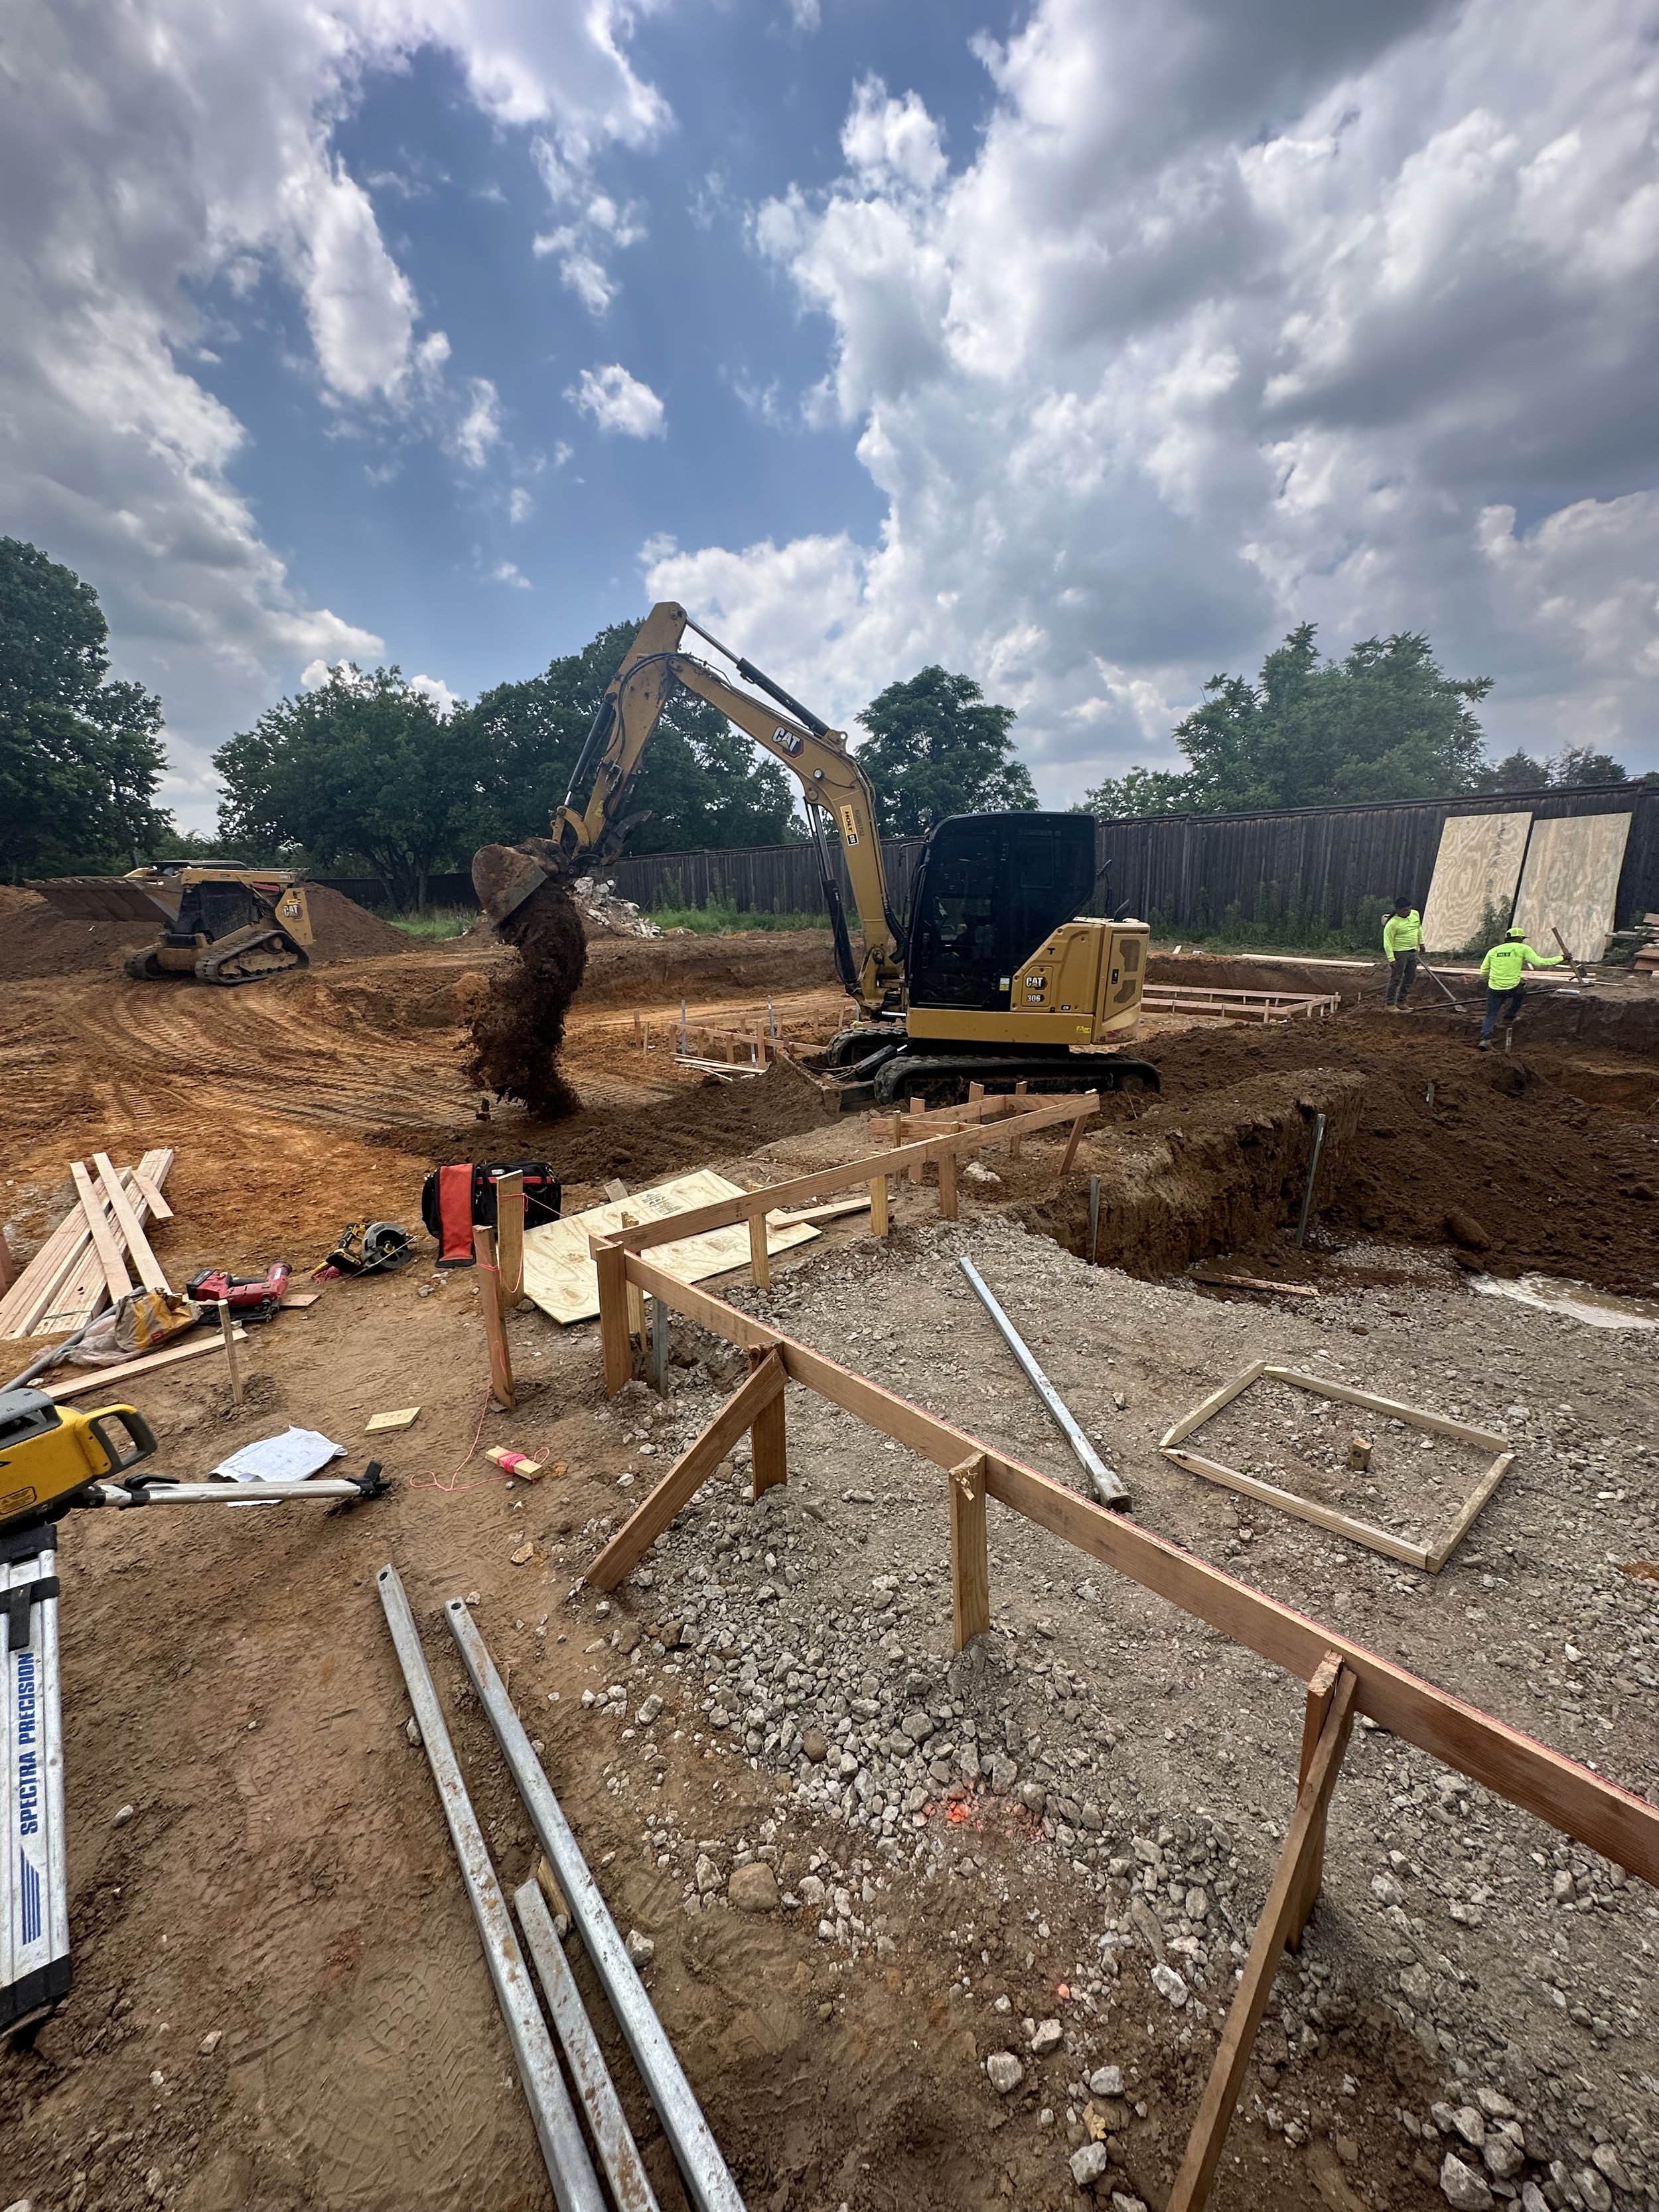
Temporary Safety Fence: Immediately after excavation, a temporary fence or barrier should guard the hole (this is often required by code) . Typically, contractors will put orange construction netting or similar around the perimeter (as seen in the image above). This is crucial for safety – an open pool excavation is a hazard for kids, pets, or even adults walking near it. Do not let the site sit unfenced, even for a short period.